 订阅
订阅Unity GL之使用GL简单绘制线段和平面
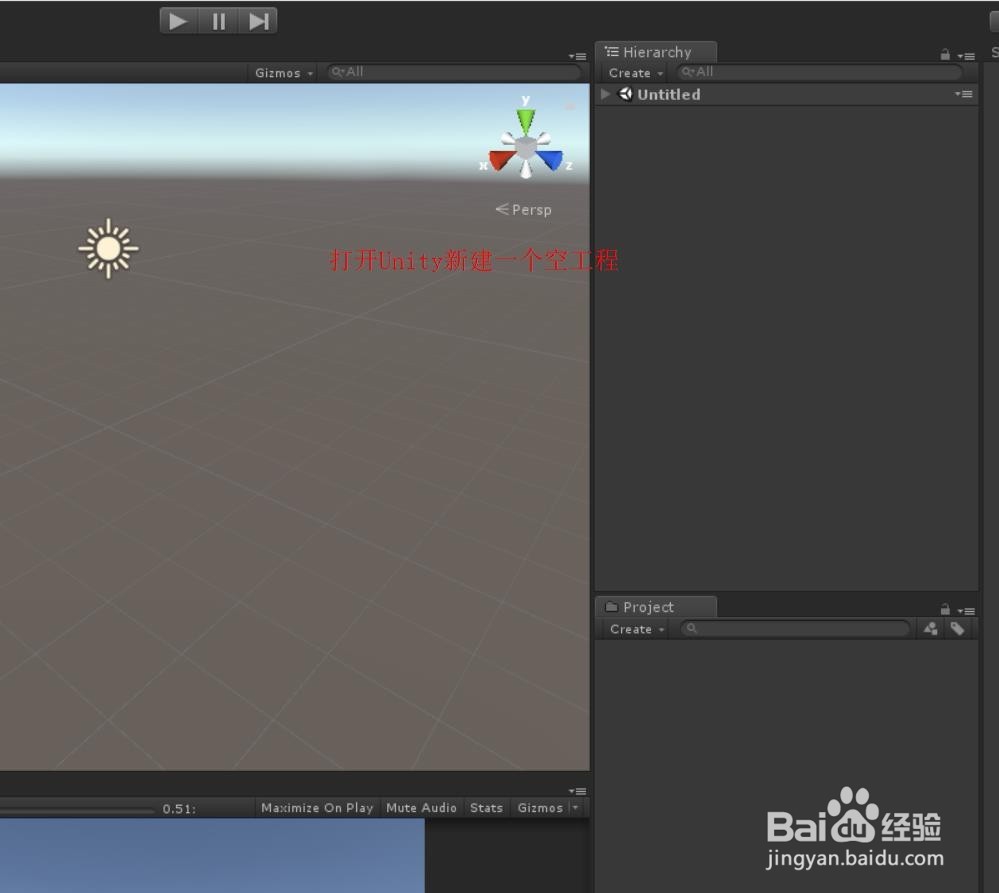
来源:网络收集 点击: 时间:2024-03-09打开Unity,新建一个空工程,具体如下图
 2/6
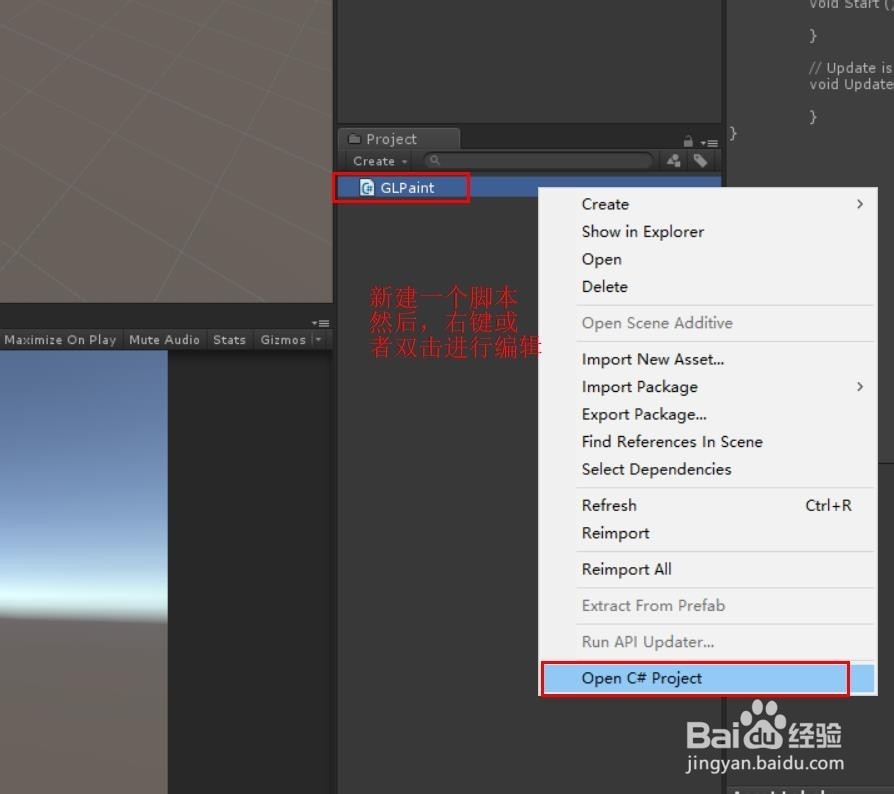
2/6在工程中,添加一个脚本,然后右键或者双击编辑脚本,具体如下图
 3/6
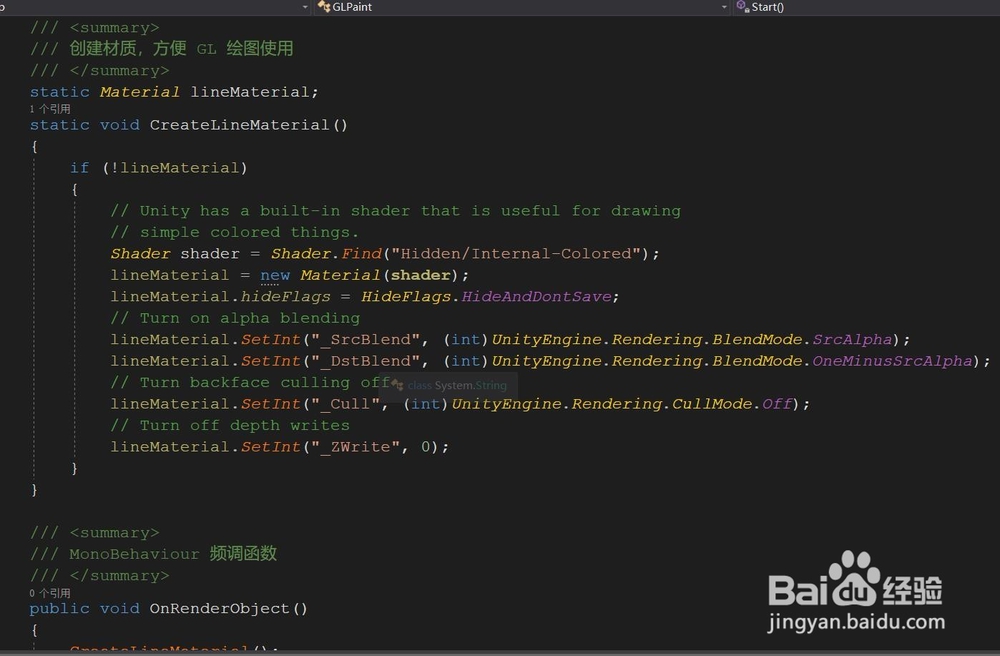
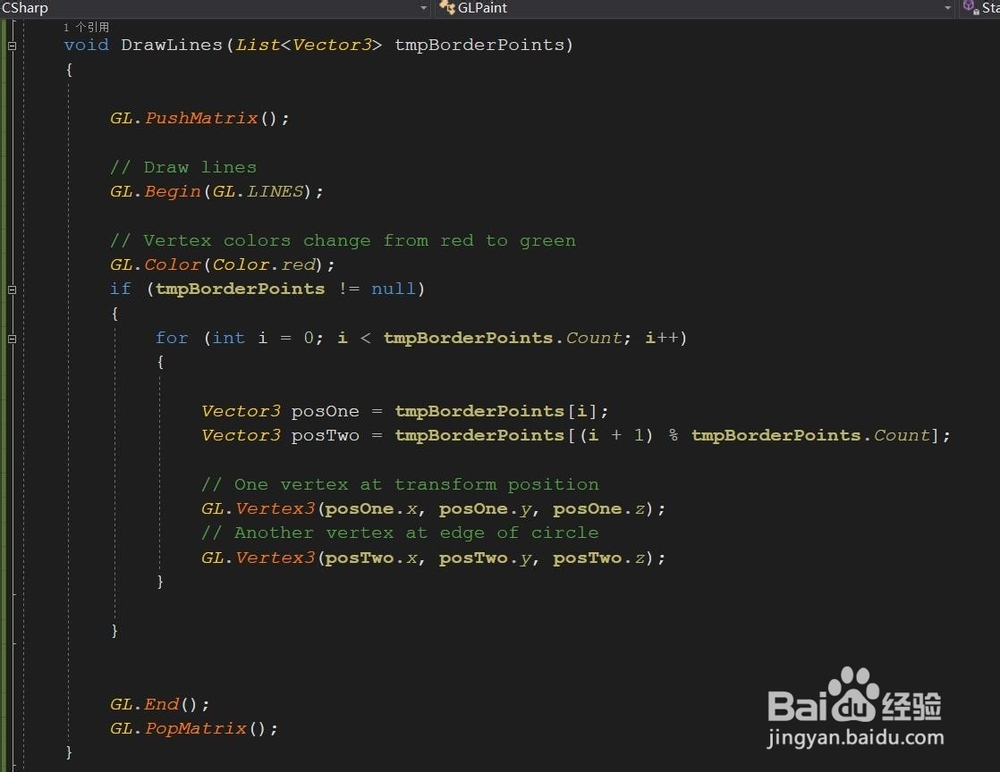
3/6脚本内容如下:1、首先new一个添加点用来绘制;2、一个创建材质的函数,创建绘制需要的材质;3、在 OnRenderObject() 函数绘制线段和平面;4、分别创建画线和绘制平面的函数接口,具体如下图


 4/6
4/6脚本具体内容:
using System.Collections.Generic;
using UnityEngine;
public class GLPaint : MonoBehaviour {
ListVector3 tmplist; // 存放点的列表
void Start() {
// 初始化存点的列表,并添加一些点
tmplist = new ListVector3();
tmplist.Add(new Vector3(0,0,0));
tmplist.Add(new Vector3(0,3,0));
tmplist.Add(new Vector3(3,3,0));
tmplist.Add(new Vector3(3,0,0));
}
/// summary
/// 创建材质,方便 GL 绘图使用
/// /summary
static Material lineMaterial;
static void CreateLineMaterial()
{
if (!lineMaterial)
{
// Unity has a built-in shader that is useful for drawing
// simple colored things.
Shader shader = Shader.Find(Hidden/Internal-Colored);
lineMaterial = new Material(shader);
lineMaterial.hideFlags = HideFlags.HideAndDontSave;
// Turn on alpha blending
lineMaterial.SetInt(_SrcBlend, (int)UnityEngine.Rendering.BlendMode.SrcAlpha);
lineMaterial.SetInt(_DstBlend, (int)UnityEngine.Rendering.BlendMode.OneMinusSrcAlpha);
// Turn backface culling off
lineMaterial.SetInt(_Cull, (int)UnityEngine.Rendering.CullMode.Off);
// Turn off depth writes
lineMaterial.SetInt(_ZWrite, 0);
}
}
/// summary
/// MonoBehaviour 频调函数
/// /summary
public void OnRenderObject()
{
CreateLineMaterial();
// Apply the line material
lineMaterial.SetPass(0);
//DrawLines();
// GL 画线函数
//DrawLines(tmplist);
DrawTriangle(tmplist);
}
/// summary
/// GL画线函数
/// /summary
/// param name=tmpBorderPoints点的列表/param
void DrawLines(ListVector3 tmpBorderPoints)
{
GL.PushMatrix();
// Draw lines
GL.Begin(GL.LINES);
// Vertex colors change from red to green
GL.Color(Color.red);
if (tmpBorderPoints != null)
{
for (int i = 0; i tmpBorderPoints.Count; i++)
{
Vector3 posOne = tmpBorderPoints;
Vector3 posTwo = tmpBorderPoints;
// One vertex at transform position
GL.Vertex3(posOne.x, posOne.y, posOne.z);
// Another vertex at edge of circle
GL.Vertex3(posTwo.x, posTwo.y, posTwo.z);
}
}
GL.End();
GL.PopMatrix();
}
/// summary
/// GL 平面绘制
/// /summary
/// param name=tmpBorderPoints/param
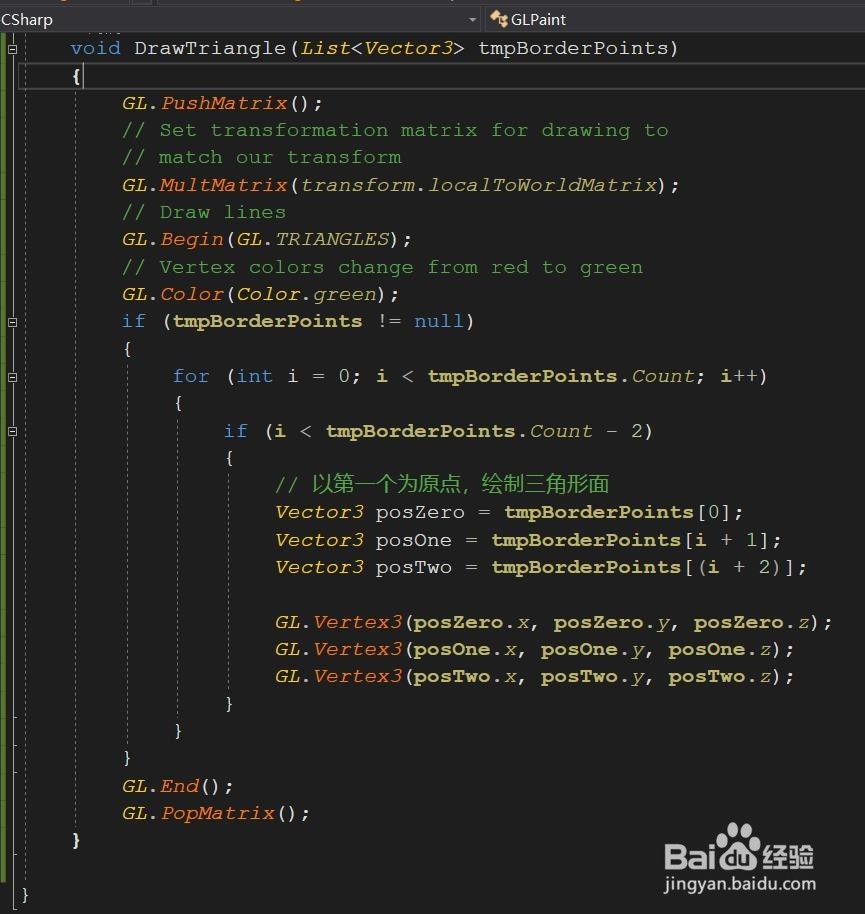
void DrawTriangle(ListVector3 tmpBorderPoints)
{
GL.PushMatrix();
// Set transformation matrix for drawing to
// match our transform
GL.MultMatrix(transform.localToWorldMatrix);
// Draw lines
GL.Begin(GL.TRIANGLES);
// Vertex colors change from red to green
GL.Color(Color.green);
if (tmpBorderPoints != null)
{
for (int i = 0; i tmpBorderPoints.Count; i++)
{
if (i tmpBorderPoints.Count - 2)
{
// 以第一个为原点,绘制三角形面
Vector3 posZero = tmpBorderPoints;
Vector3 posOne = tmpBorderPoints;
Vector3 posTwo = tmpBorderPoints;
GL.Vertex3(posZero.x, posZero.y, posZero.z);
GL.Vertex3(posOne.x, posOne.y, posOne.z);
GL.Vertex3(posTwo.x, posTwo.y, posTwo.z);
}
}
}
GL.End();
GL.PopMatrix();
}
}
5/6脚本编译正确,回到Unity,运行场景,这次绘制的线段,具体如下图
 6/6
6/6简单修改脚本,运行场景,这次绘制平面,具体如下图
 注意事项
注意事项您的支持,是我们不断坚持知识分享的动力,若帮到您,还请帮忙投票有得;若有疑问,请留言
目前不清楚怎么给绘制的平面添加贴图,知道的同学,还请交流交流哈,谢谢
GL.MultMatrix(transform.localToWorldMatrix); 绘制衣服到GameObject上
GL.LoadOrtho();Helper function to set up an ortho perspective transform.绘制在屏幕上
UNITYGL绘制线段绘制平面版权声明:
1、本文系转载,版权归原作者所有,旨在传递信息,不代表看本站的观点和立场。
2、本站仅提供信息发布平台,不承担相关法律责任。
3、若侵犯您的版权或隐私,请联系本站管理员删除。
4、文章链接:http://www.1haoku.cn/art_296947.html