NS2网络仿真基础教程——TCP和UDP协议仿真
来源:网络收集 点击: 时间:2025-02-12第一步:验证NS2仿真环境
本教程的环境为centOS6.0+NS2 2.35。关于Linux以及NS2的安装已经有大量的优秀教程,希望小伙伴可以查找相关资料配置好基本的运行环境。
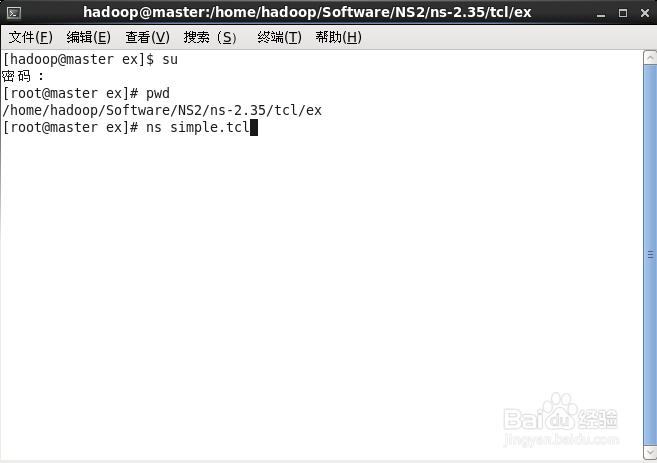
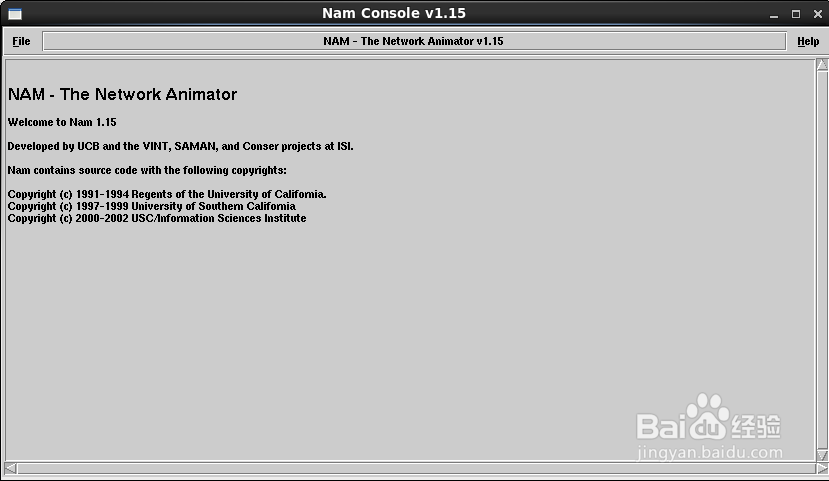
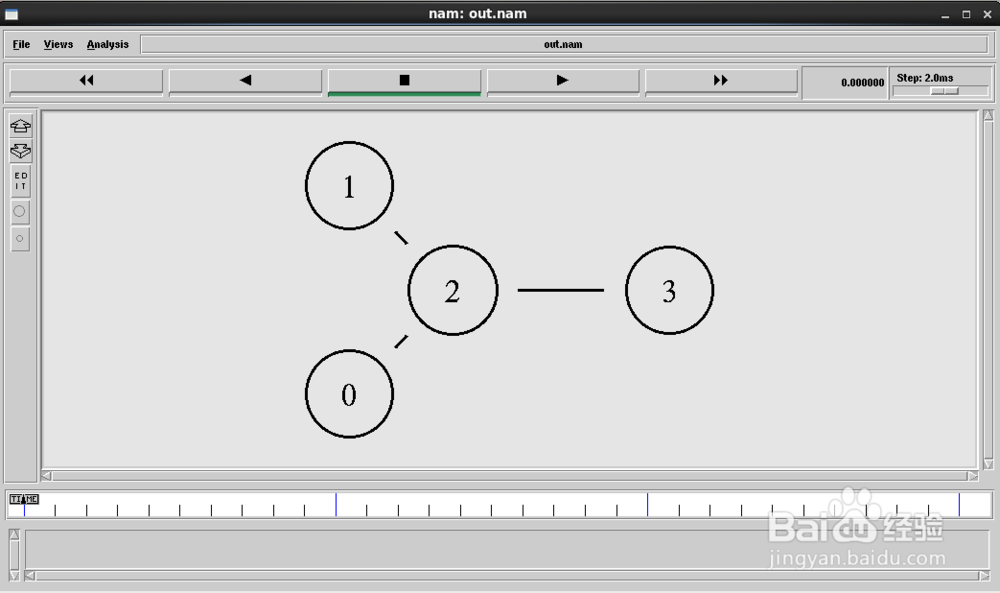
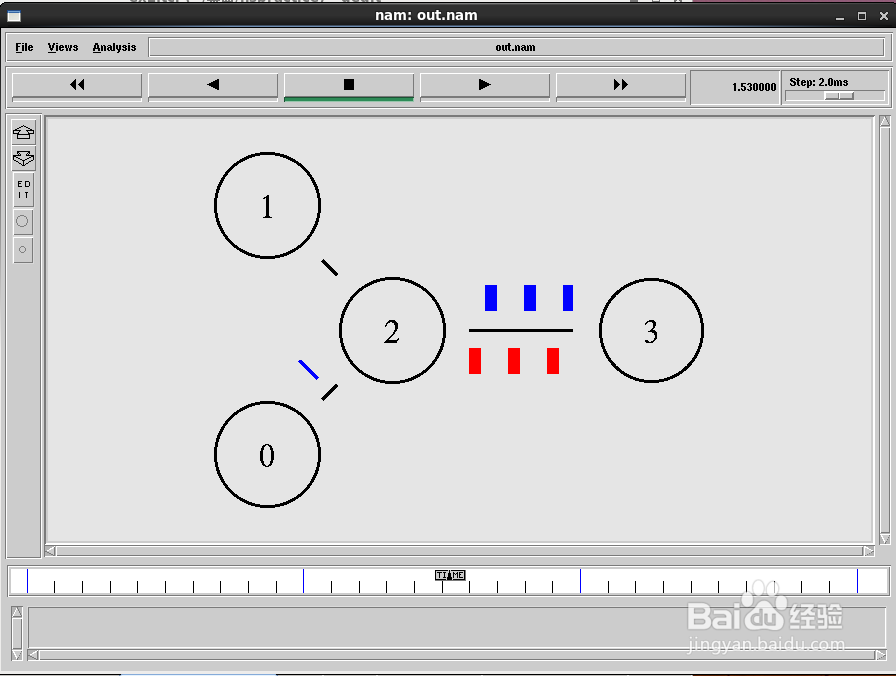
验证方法如下:找到NS2的安装路径,并找到~/ns-2.35/tcl/ex文件夹下的simple.tcl文件,使用命令行命令:ns simple.tcl,在正常环境下会出现nam程序界面以及一个网络仿真拓扑图。
 2/6
2/6第二步:网络规划
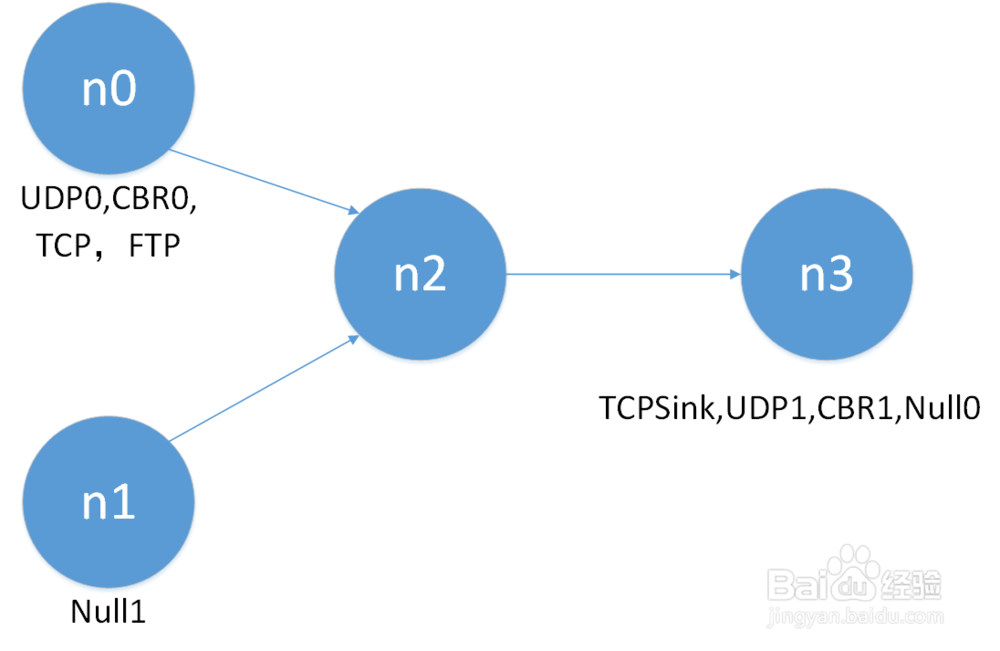
节点数量:网路包含4个节点分别记为n0、n1、n2、n3。
链路数量:包含3条通信链路n0到n2,n1到n2,n2到n3。
协议代理(Agent):Agent/UDP, Agent/TCP
数据源:恒定速率发生器(CBR)
 3/6
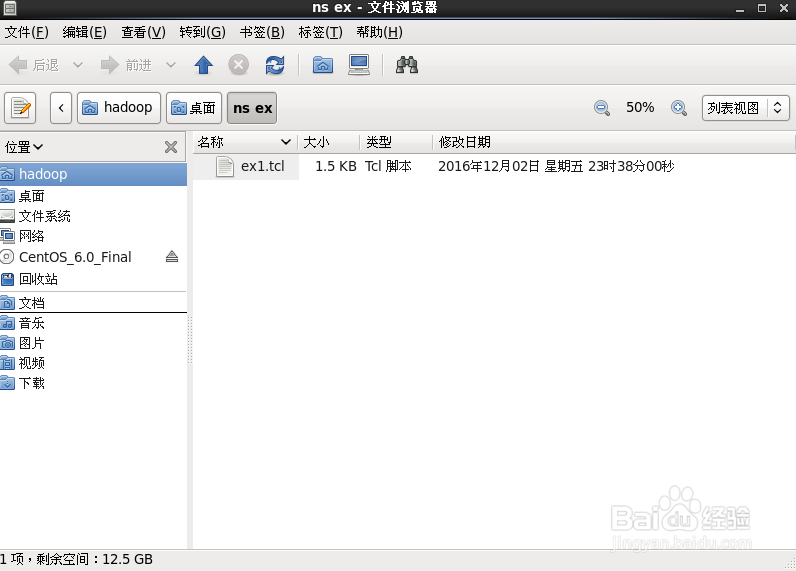
3/6第三步:创建仿真脚本文件ex1.tcl
tcl脚本文件可以通过gedit进行编辑。
 4/6
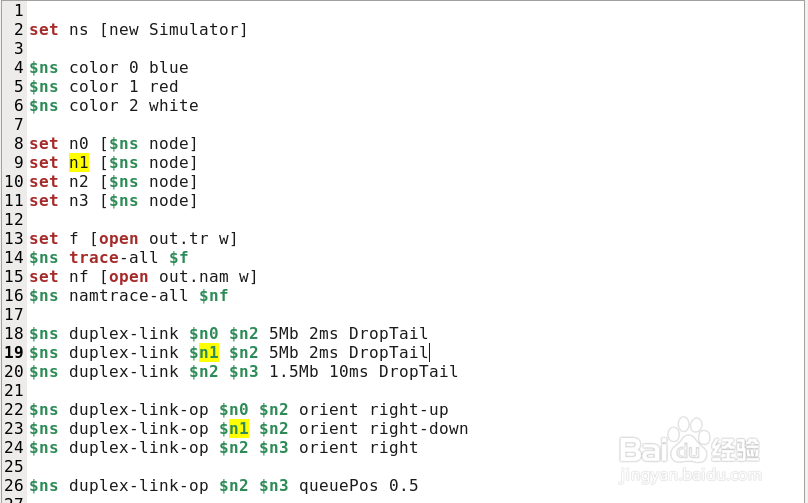
4/6第四步:创建仿真器,定义网络原件,网络运行过程的追踪文件
set ns
$ns color 0 blue
$ns color 1 red
$ns color 2 white
set n0
set n1
set n2
set n3
set f
$ns trace-all $f
set nf
$ns namtrace-all $nf
$ns duplex-link $n0 $n2 5Mb 2ms DropTail
$ns duplex-link $n1 $n2 5Mb 2ms DropTail
$ns duplex-link $n2 $n3 1.5Mb 10ms DropTail
$ns duplex-link-op $n0 $n2 orient right-up
$ns duplex-link-op $n1 $n2 orient right-down
$ns duplex-link-op $n2 $n3 orient right
$ns duplex-link-op $n2 $n3 queuePos 0.5
 5/6
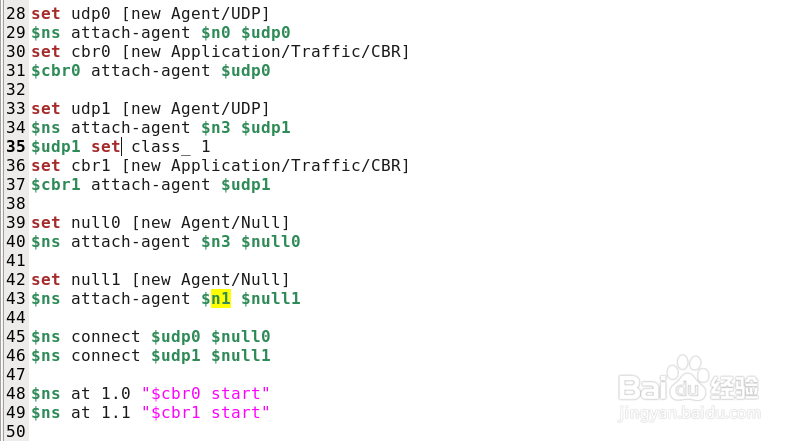
5/6第五步:创建udp协议代理,cbr数据发生器,将二者绑定,并在1.1 和1.2秒启动两个数据发生器
set udp0
$ns attach-agent $n0 $udp0set cbr0
$cbr0 attach-agent $udp0
set udp1
$ns attach-agent $n3 $udp1
$udp1 set class_ 1
set cbr1
$cbr1 attach-agent $udp1
set null0
$ns attach-agent $n3 $null0
set null1
$ns attach-agent $n1 $null1
$ns connect $udp0 $null0
$ns connect $udp1 $null1
$ns at 1.0 $cbr0 start
$ns at 1.1 $cbr1 start
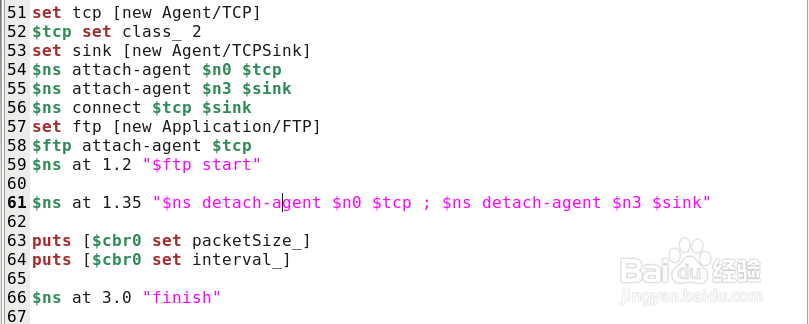
set tcp
$tcp set class_ 2
set sink
$ns attach-agent $n0 $tcp
$ns attach-agent $n3 $sink
$ns connect $tcp $sink
set ftp
$ftp attach-agent $tcp
$ns at 1.2 $ftp start
$ns at 1.35 $ns detach-agent $n0 $tcp ; $ns detach-agent $n3 $sink
puts
puts
 6/6
6/6第六步:定义仿真结束过程,在该过程中关闭两个记录文件。最后,使用run命令启动仿真。
proc finish {} {
global ns f nf
$ns flush-trace
close $f
close $nf
puts running nam...
exec nam out.nam
exit 0
}
$ns run

 注意事项
注意事项NS2网络仿真具有一定的门槛,但本质上是用tcl、Otcl调用网络仿真库函数的过程。用心学习相关教程后,熟练掌握加以应用就能成为自己的论文或者工程的有力研究工具。
版权声明:
1、本文系转载,版权归原作者所有,旨在传递信息,不代表看本站的观点和立场。
2、本站仅提供信息发布平台,不承担相关法律责任。
3、若侵犯您的版权或隐私,请联系本站管理员删除。
4、文章链接:http://www.1haoku.cn/art_1237953.html
 订阅
订阅